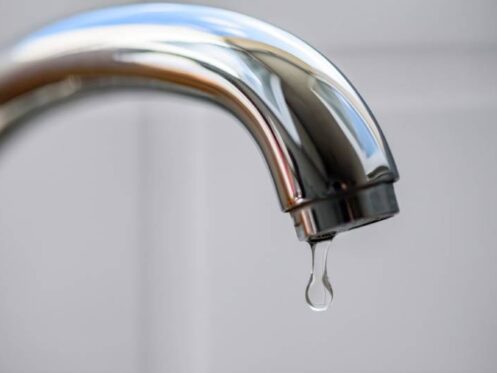
A leaky faucet can be more than just an annoying drip—it can lead to significant water waste and higher utility bills. Fortunately, fixing a leaky faucet is a straightforward task that most homeowners can handle with a few basic tools and a little patience. Here’s a step-by-step guide from our Albuquerque plumbers to help you stop that drip and conserve water.
Identify the Type of Faucet
Before you start, it’s important to determine the type of faucet you have. The most common types include:
- Compression Faucets: Typically found in older homes, these have separate handles for hot and cold water.
- Ball Faucets: Common in kitchen sinks, these have a single handle that moves over a rounded cap.
- Cartridge Faucets: These can have one or two handles and are known for their smooth operation.
- Ceramic Disk Faucets: These are high-quality faucets with a single lever over a wide cylindrical body.
Gather Your Tools and Materials
You’ll need a few basic tools and materials for this repair:
- Adjustable wrench
- Screwdriver (Phillips and flat-head)
- Replacement parts (specific to your faucet type)
- Plumber’s grease
- O-ring and washers
- Teflon tape (optional)
Steps to Fix a Leaky Faucet
- Turn Off the Water Supply: Locate the shut-off valves under the sink and turn them off. If your faucet doesn’t have local shut-off valves, turn off the main water supply.
- Plug the Drain: Use a sink plug or a cloth to cover the drain. This prevents small parts from falling down the drain.
- Disassemble the Faucet: Carefully remove the faucet handle. Depending on the type of faucet, you may need to remove screws, pry off caps, or twist off parts. Keep all parts organized as you disassemble.
- Inspect the Parts: Once the faucet is disassembled, inspect the O-ring, washers, and other parts for wear and tear. These are often the culprits behind leaks.
- Replace Worn Parts: Replace any worn or damaged parts with new ones. Ensure the replacements are the exact size and type. Lubricate the O-ring and other moving parts with plumber’s grease.
- Reassemble the Faucet: Carefully reassemble the faucet in the reverse order of disassembly. Ensure all parts are tightened securely but not overly tight, which can cause damage.
- Turn On the Water Supply: Turn the water supply back on and test the faucet. Check for leaks and ensure the faucet operates smoothly.
- Additional Tips:
If your faucet continues to leak after replacing the parts, it may be time to consider a complete faucet replacement.
Regular maintenance, such as cleaning the aerator and checking for loose parts, can help prevent future leaks.
When to Call a Professional
While many faucet leaks can be fixed with basic DIY skills, some issues might require professional help. If the leak persists despite your efforts or if you encounter complex problems, it’s best to call an experienced plumber in Albuquerque, NM.
Fixing a Leaky Faucet in Albuquerque and Santa Fe
Fixing a leaky faucet is a simple way to save water and reduce your utility bills. By following these steps, you can tackle this common household issue with confidence. For more complex plumbing needs or expert assistance, trust Wagner Mechanical to provide reliable and efficient service in Albuquerque and Santa Fe.
